- Hiding Fields on the Checkout Page
- Installing WooCommerce
- Using WooCommerce
- Using Your Theme's Header & Footer in a Step
- Embedding a Checkout Form on the CartFlows Checkout Page
- Hiding WooCommerce Pages and Products
- Using Pricing Tables
- Adding an Affiliate Program
- Setting a Funnel as the Homepage
- GDPR Compliance
- Dynamic Offers aka Rule Engine
- Instant Layout for Checkout and Thank You Step
- Adding Products from the URL to the Checkout Page
- Setting Up A/B Testing for Steps
- Deleting Plugin Data During Uninstallation
- Importing Ready-Made Templates for Funnels and Steps
- Importing and Exporting Funnels and Individual Page Builder Templates
- URL Parameters
- Replacing the Main Checkout Order with an Upsell or Downsell
- Rolling back to a Previous Version
- Google Address Autocomplete
- Flatsome UX Builder
- ActiveCampaign
- Paypal Reference Transactions
- How PaypPal/Stripe Works
- Enabling Enfold Avia Layout Builder
- Setting Up Authorize.net for Upsell & Downsell
- Supported Payment Gateways
- Setting Up A/B Testing with Google Optimize
- Setting Quantity and Discount for Products on the Checkout Page
- Adding Custom Support for Payment Gateways in One-Click Upsell & Downsell
- Creating Subscription Products in WooCommerce for CartFlows Pages
- Supported Multi-Currency Plugins
- Enabling/Disabling Shipping Fields and Ship to Different Address
- Enabling/Adding Coupons on the Checkout Page
- Displaying Account Creation Fields on the Checkout Page
- Setting Up Square Gateway for Upsell & Downsell
- CartFlows Elementor Widgets
- CartFlows Beaver Builder Modules
- CartFlows Block Editor Blocks
- Importing Divi Templates
- Bricks Builder
- OttoKit
- Connecting Stripe Payment Gateway
- LearnDash
- Facebook Pixel
- How to Enable TikTok Pixel Tracking in CartFlows?
- Google Ads Pixel
- How to Enable Pinterest Pixel Tracking in CartFlows?
- How to Enable Snapchat Pixel Tracking in CartFlows?
- Funnel in Test Mode
- Troubleshooting Plugin and Theme Conflicts
- Resolving the "Please Select a Simple, Virtual, and Free Product" Error
- Fixing Endless Loading on the Checkout Page
- Fixing the "We can't seem to find an order for you." Error on the Thank You Page
- Fixing the "Checkout ID Not Found" Error
- Fixing the "Session Expired" Error Message
- Resolving "Order Does Not Exist" Error on Upsell/Downsell Page
- Fixing the "Sorry, This Product Cannot Be Purchased" Error
- Resolving "No Product is Selected" Error
- Disabling Auto-fill of Address Fields Based on Zip Code
- Enabling Theme's Scripts & Styles Without Changing Page Template
- Disabling Auto-fill of Checkout Fields
- Allowing Cache Plugins to Cache CartFlows Pages
- Changing the "Choose a Variation" Text
- VAT Field Not Displaying for WooCommerce EU/UK VAT Compliance Plugin
- Enabling the Product Tab on Store Checkout
- Displaying the Order Summary Open on Mobile Devices
How to Enable/Add Coupons on the CartFlows Checkout page?
CartFlows makes it easy to allow your customers to apply discount coupons directly at checkout. You can control the visibility of the coupon field, and even customize the field and button text to better match your brand.
Step 1: Enable Coupons in WooCommerce
Before displaying coupons on your CartFlows checkout page, make sure coupons are enabled in WooCommerce:
- Navigate to WooCommerce > Settings > General.
- Check the option “Enable the use of coupon codes”.
- Create and configure your coupons under WooCommerce > Marketing > Coupons.
If you’re new to WooCommerce coupons, you can refer to this official WooCommerce guide for detailed steps.
Once your coupons are set up, the coupon field will automatically appear on your CartFlows checkout pages.
Step 2: Show or Hide the Coupon Field on a Specific Checkout Page
You can choose to enable or disable the coupon field for each individual checkout page.
Here’s how:
1: Go to CartFlows > Funnels > [Your Funnel Name]. If you’re using the Store Checkout, open the Store Checkout tab instead.

2: Click on the Settings (cog icon) for the Checkout step.
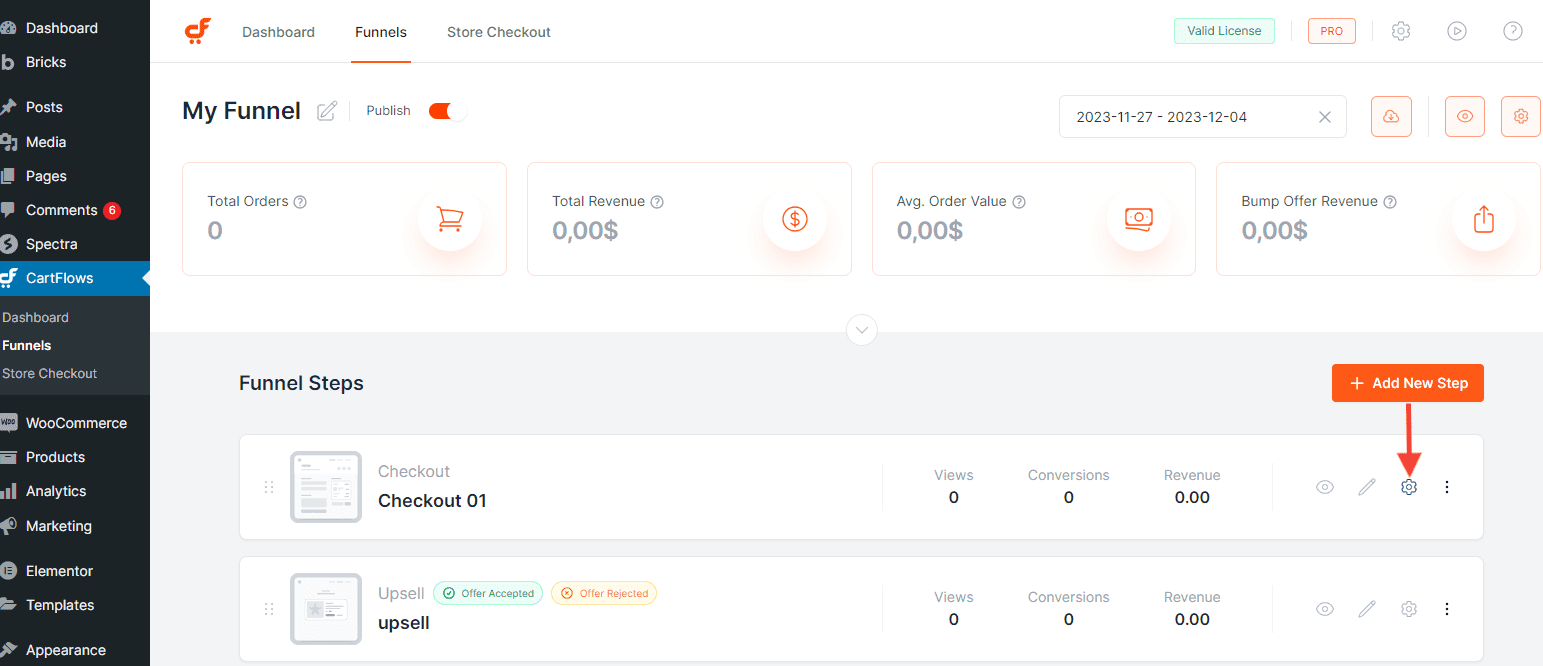
3: Navigate to the Checkout Form tab. Toggle the Enable Coupon Field option as needed.

Step 3: Customize Coupon Field and Button Text (Optional)
Need to change the default placeholder or button label? CartFlows provides a developer-friendly filter to help you personalize the coupon field text.
Add the following code to your child theme’s functions.php file:
/**
 * Change the CartFlows Coupon Field text and Button text.
 *
 * @param array $coupon_field array of field strings/texts.
 * @return array
 */
add_filter( 'cartflows_coupon_field_options', 'change_cartFlows_coupon_field_strings', 10, 1 );

function change_cartFlows_coupon_field_strings( $coupon_field ){

	$coupon_field = array(
		'field_text'  => __( 'Coupon Code', 'cartflows' ), // Coupon input field text/placeholder.
		'button_text' => __( 'Apply', 'cartflows' ), // Apply coupon button text.
		'class'       => '', // Coupon input field class.
	);

	return $coupon_field; // Returning the modified data with new strings.
}
💡 Need help adding custom code to your site? Here’s a guide to walk you through the process safely.
With these settings in place, you’ll have full control over how coupons appear and function on your CartFlows checkout pages, improving the customer experience and supporting your promotional campaigns.
We don't respond to the article feedback, we use it to improve our support content.
